Troubles with Tempering
Tempering chocolate is often tricky for beginners, but one method will make this task easy and reliable. I'm talking about cocoa butter seed.
Making chocolate tree-to-bar has more than a few steps, each of which can be done a huge number of ways, no one way necessarily better than the others. But there is a certain step for which I have a strong preference in method, and that happens also to be the one I get the most questions about. People have trouble tempering chocolate.

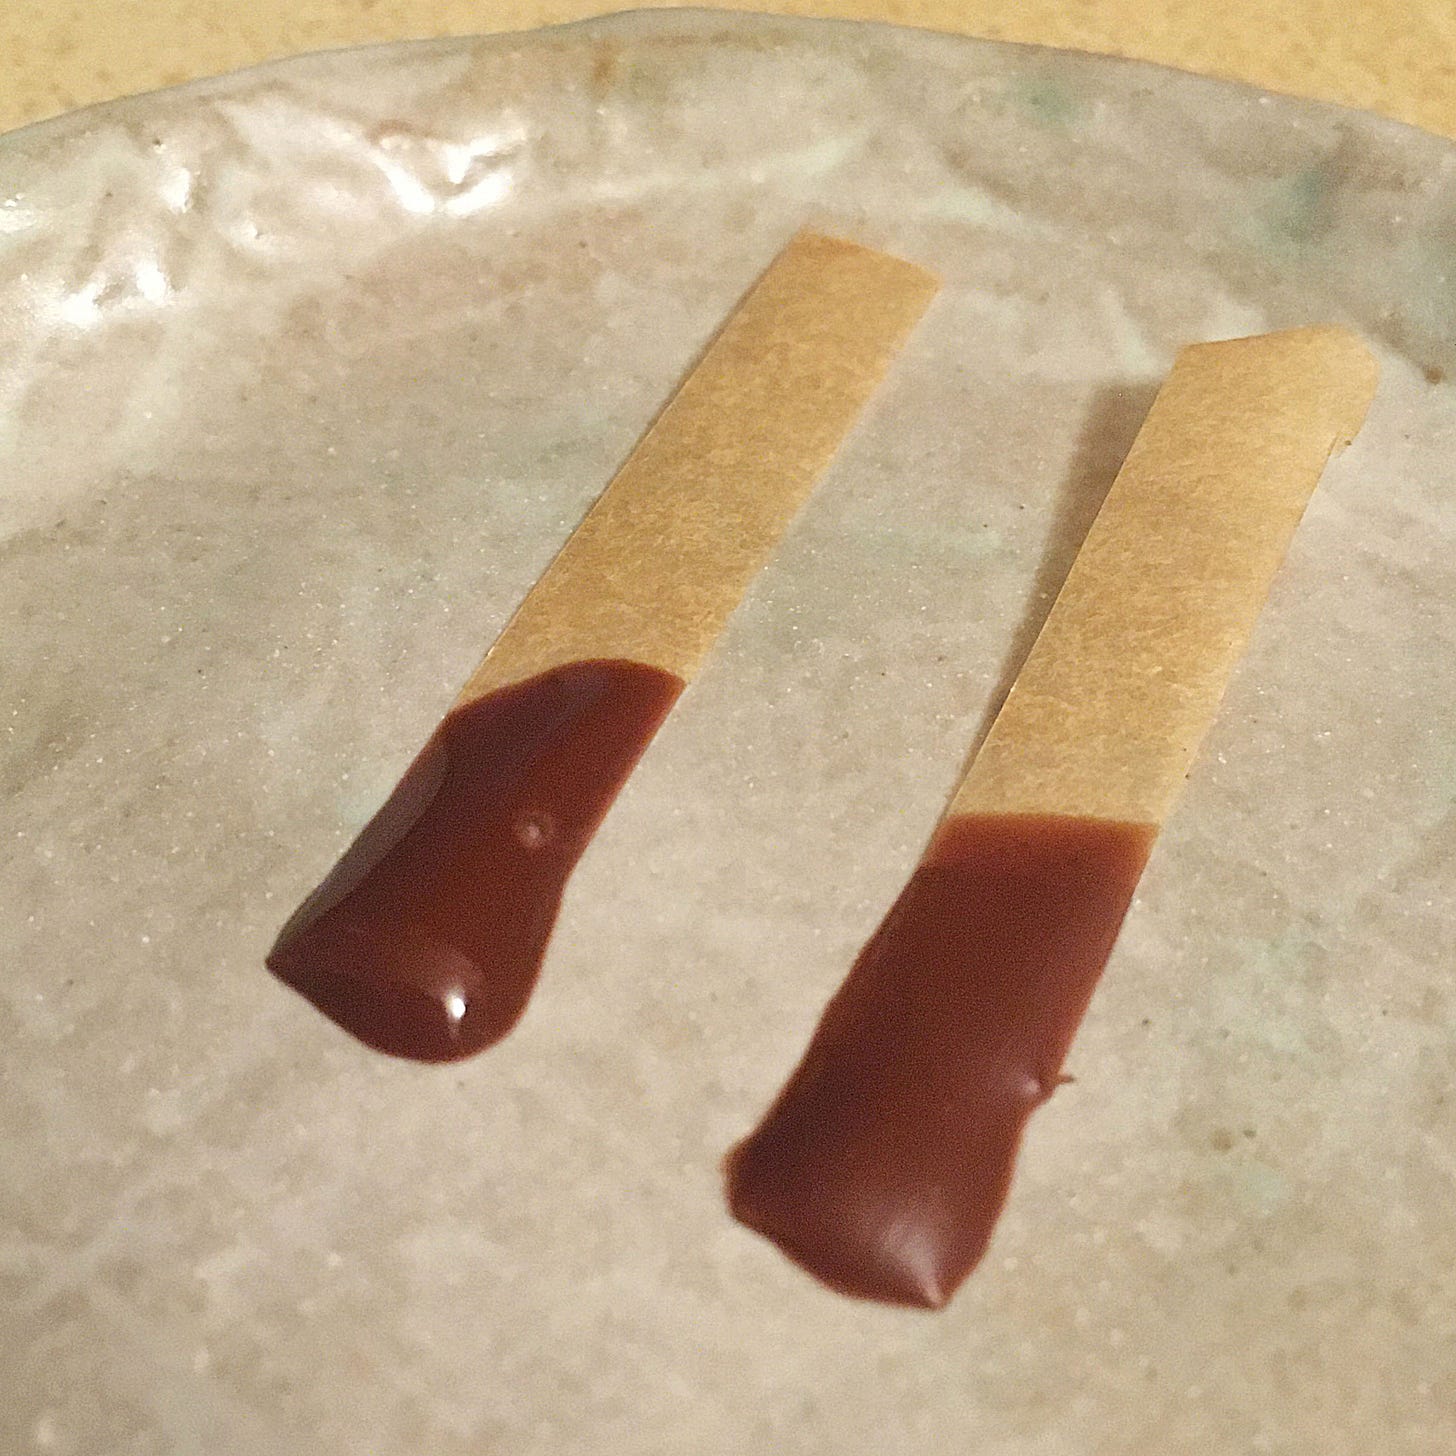
Tempering chocolate is the process of transforming its structure. Like water to ice, it is a crystallization process. In this case we are crystallizing the cocoa butter inside the chocolate, like freezing the water inside a Popsicle. Tempered chocolate snaps when broken, melts at a higher temperature than untempered chocolate, and can have a shiny surface.
You may decide you don’t care too much about whether your chocolate is tempered. If you drink your chocolate, tempering isn’t necessary or even desirable. Many cacao home-growers may find that keeping their chocolate in the refrigerator is just fine. I don’t have an opinion about that. Whatever you like is awesome. If you are going to temper, and especially if you live in a hot and/or humid place, I strongly recommend a method: seeding with pre-crystallized cocoa butter.
This process has various names, like silk seeding or cocoa butter seeding. Learning this method allowed me to enjoy making bars and bonbons, rather than being frustrated by using classical methods that don’t work as reliably, and especially not in a hot and humid room. Tempering was hit-or-miss until I discovered the cocoa seed method. Classes with Mackenzie Rivers at The Next Batch School helped me hone tempering skills. Mackenzie credits Kerry Beal as the mastermind behind this seemingly magical technique. Mahalo e Kerry!
I explain more about tempering and the cocoa butter seeding method in my book One Cacao Tree, but the best way to learn it is by doing. Here are some resources to help.
Check out the video and PDF in this post from The Next Batch, where you will learn how to make cocoa butter seed in a sous vide and how to add the seed to chocolate to temper it:
From the perspective of a home chocolate maker in a tropical environment without an air-conditioned space, I’ll add some tips:
• Heat and humidity can ruin your tempering. Save yourself stress and frustration by tempering your chocolate in a cool room. My personal cut-off temperature is 72°F, which insures that the absolute humidity is low despite the relative humidity reading on my gauge. If the room temperature is higher, I don’t even try to temper. This means most of my chocolate-tempering happens in the early morning, even pre-dawn. Which tbh, as a morning person, I love. Aloha kakahiaka!
• Enclose chocolate in an air-tight container while it is tempering. For example, place your mold in a lidded, plastic container or a closed plastic bag after filling and leave it sealed until the chocolate is completely solidified. This limits the chocolate’s exposure to humidity, which may cause a dusting of white bloom on the surface even when the bulk of the chocolate is in temper. If you are using polycarbonate molds, you can place a thin sheet of plastic (plain or a transfer sheet) after filling, and leave it on until the chocolate has completely hardened and cooled. I learned this technique from Kirsten Tibball’s classes. I use “cake collar” plastic, which can be rinsed and reused.
• Place the enclosed tray in the refrigerator for 6-10 minutes then take it out to let it finish crystallizing at room temperature, but do not lave it out in a warm room or it can lose its temper. When it is solid, I place mine in a chocolate fridge, set at 65°F. Avoid rapid temperature changes to mitigate chances of bloom.
Honestly, I currently find keeping chocolate in temper much more uncertain and stressful than tempering. The process using cocoa butter seed is reliable and easy. Getting finished bonbons to a potluck and seeing them sit on a table slowly melting or sweating is much harder. Like many delicious edibles in the tropics, it’s easiest to not to expect to store it and to eat tempered chocolate right away! Think of it as a perfectly ripe rollinia fruit, best savored at its short peak.
If you are on the Big Island and want to get started with this method, I’m happy to give you some solid cocoa butter seed to play with. Just let me know. Ultimately, the “liquid” seed is the easiest to work with and worth setting up a system like the sous vide method demonstrated in the above post from The Next Batch. I make and keep my seed in a dry incubator. Another option is Kerry Beal’s EZ Temper machines.
What do you think? Do you prefer the dramatic swoosh of table tempering even in the tropics? (You bad-ass!) Do you have other tempering questions? Want me to give an online or in-person class or demo? Let me know.
Note: I do happen to have a strong opinion about one other step of the process. Maybe I’ll talk about that another time 😉.


wait, you have a chcolate fridge? can you say more about this??